


In traditional ASP.NET, client applications are built around different web pages that encapsulate distinct tasks and in order to create this sort of application in Silverlight, we have a couple of ways to do that.
Silverlight 3 introduces Navigation Framework which does this for us, but let's first try to achieve navigation and state management without this framework; or you can say, the way it is done in Silverlight 2.
Step 1: Creating Silverlight Project
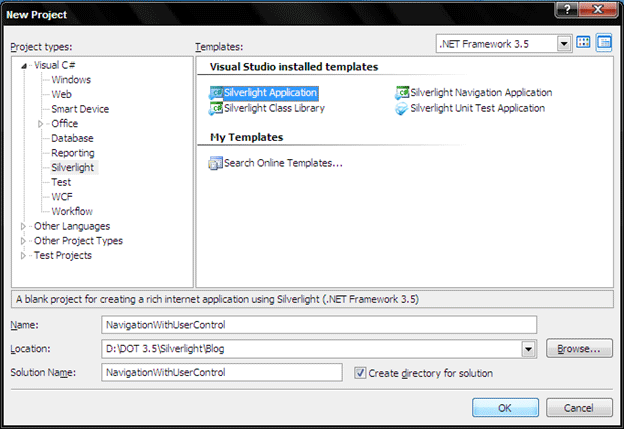
Create a Silverlight Application; here kindly note we are not using Silverlight Navigation Application, which we will do in next demo.
Give a solution and project name and click OK.
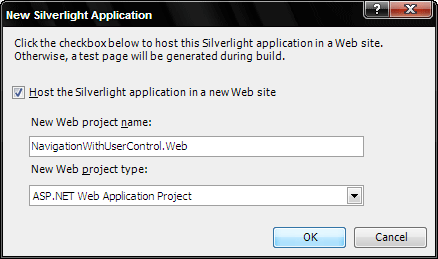
This window asks you where and how you want to host your application, Click Ok to accept the default values.
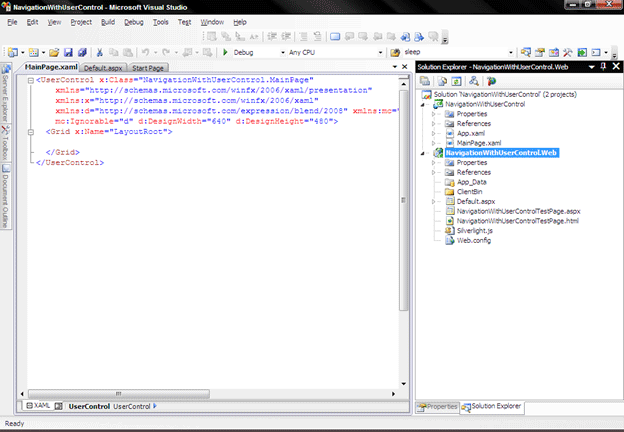
You Project will look similar to this.
Step 2: Understand the Logic
Instead of using navigation framework as stated earlier, we will do it ourself by directly manipulating the user interface. For example, you can use code to access the root visual, remove the user Control that represents the first page, and add another user control that represents a different page. This technique is straightforward, simple, and requires relatively little code. It also gives you the ability to micro-manage details like state management, which we will see later in a demo.
The basic technique is to use a simple layout container like Grid or Border as your application's root visual. You can then load user controls into the root visual when required and unload them afterward.
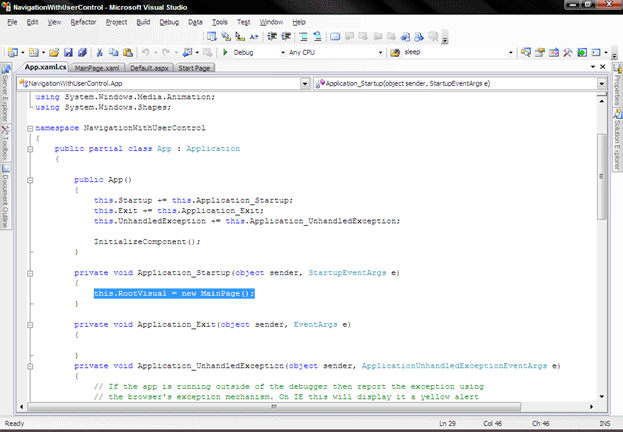
Go to App.xaml and notice which root visual element is first loaded,
READ MORE>>


0 comments:
Post a Comment