- First fill the GridView with data from a table.
- Drag and Drop 4 Buttons below the GridView.
- Change the text of the buttons using Properties.
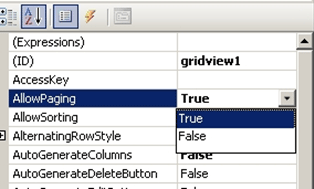
- Select Gridview Properties and set AllowPaging=True. See the following picture.
- Expand the Page Setting Properties of GridView, and set the visible property to False.
- Next we have to set the GridView PageSize property. The default PageSize is 10.
You can keep the default value for the number of rows per page to display.
Here 6 rows to display in the GridView per page. You can observe how to set
the Page in 'Pagesetting Picture' marked with the color yellow...
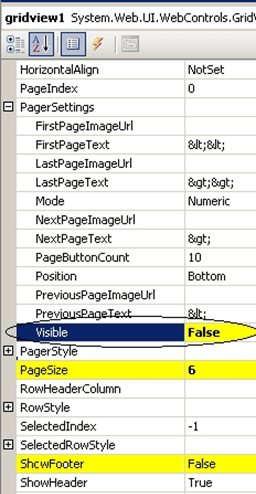
- Under SelectedRowStyle set 'ShowFooter as False'
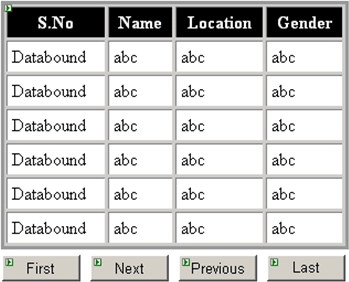
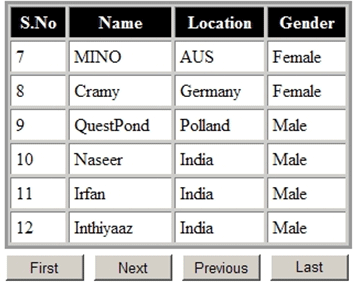
- The Output of your GridView Image is shown below.
How to Write the Code for Paging First, Next, Previous and Last.
- Paging for First Button: Double click on the "First" Button and use the following code for it.
protected void btnfirst_Click(object sender, EventArgs e)
{
gridview1.PageIndex = 0;
}
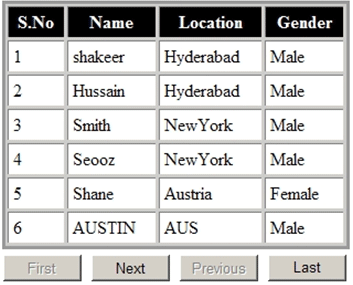
Explanation: when you run the page it contains 6 records in GridView.
Suppose the user is in the last page. When the user clicks on the "First Button" the first 6 records of the page are displayed in the GridView. So the first GridView page Index(property) is "zero". There is a Property called "PageIndex" for GridView.
- Paging for Next Button: Double click on the "Next Button" and use the following code for it.
protected void btnnext_Click(object sender, EventArgs e){int i = gridview1.PageIndex + 1;if (i <= gridview1.PageCount){gridview1.PageIndex = i;
}
READ MORE >>


0 comments:
Post a Comment